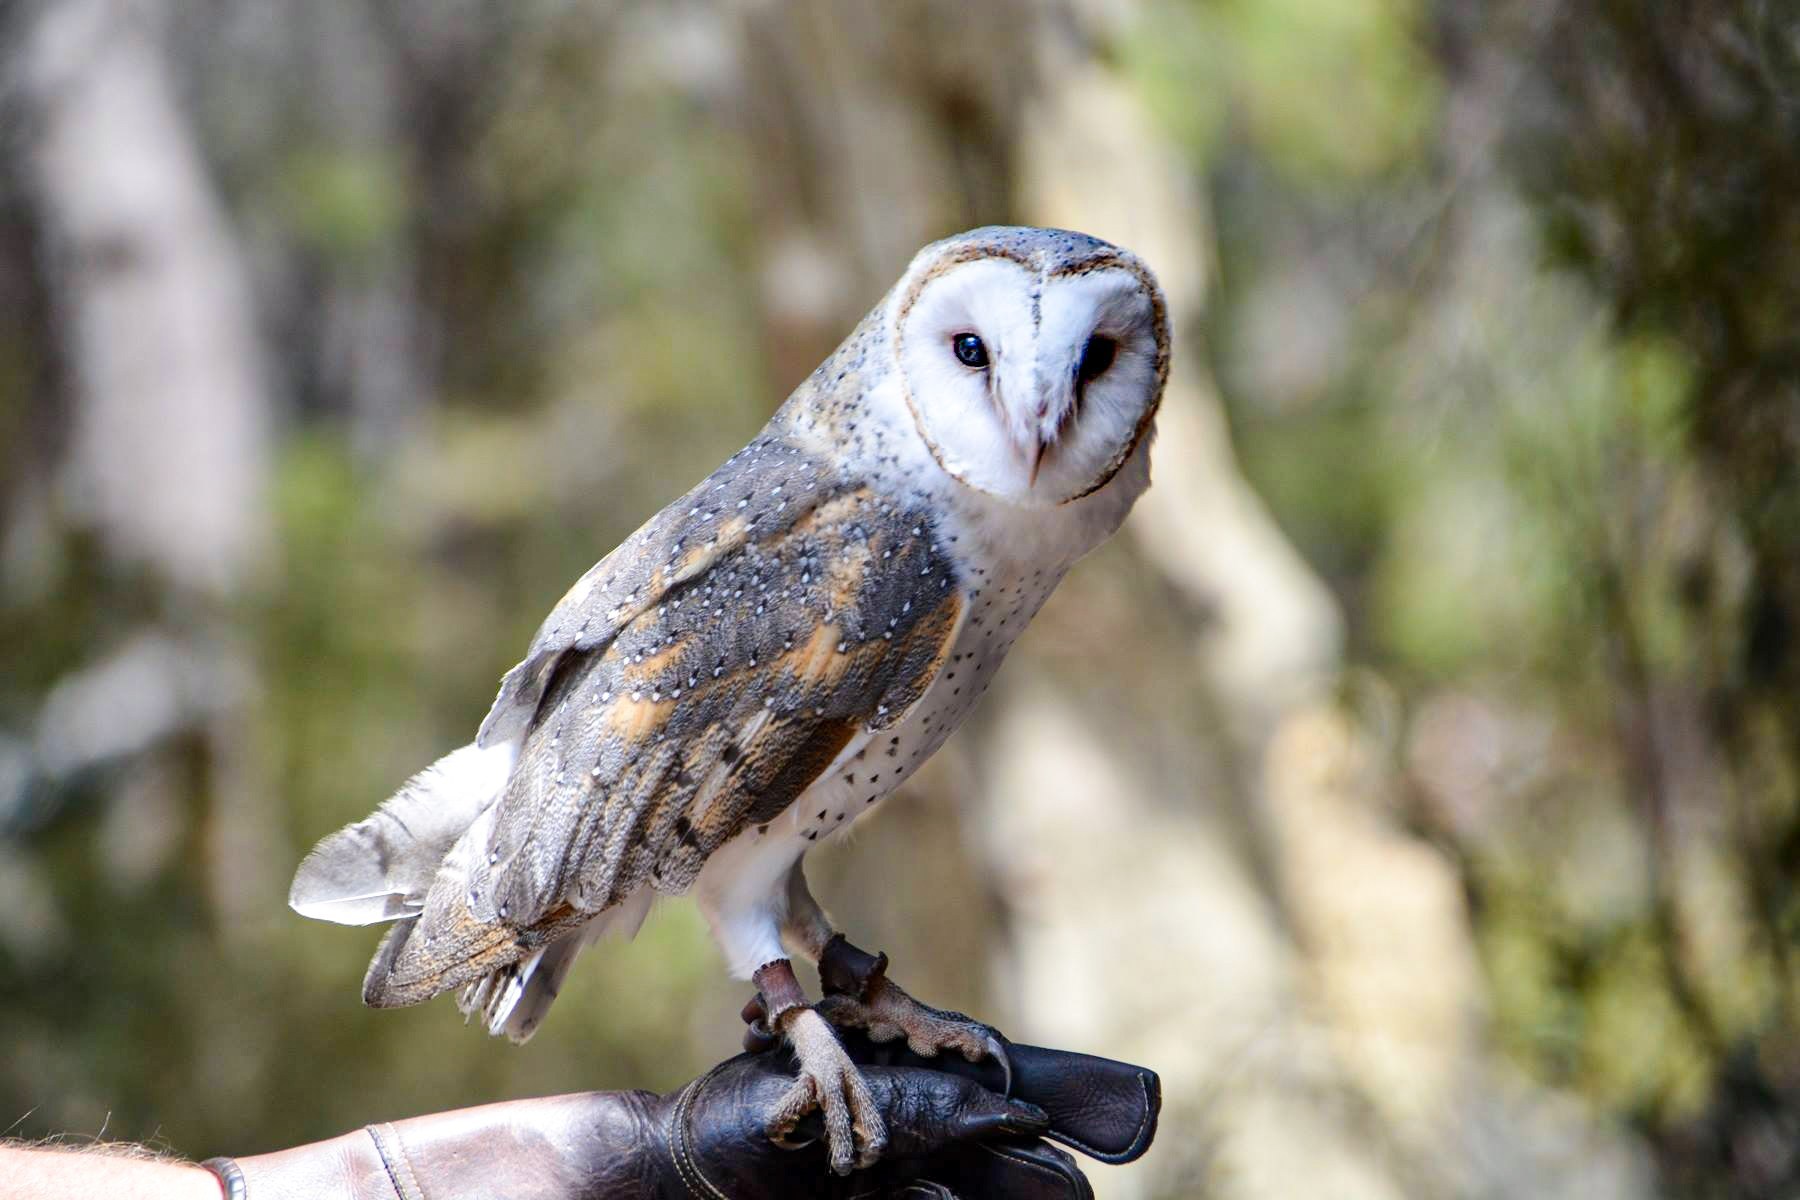
Raptor First Aid
Handling injured raptors

Step 1:
Safety comes first!
Do not attempt to capture an injured raptor on a busy roadside, in water, or in other potentially dangerous locations. Assess the danger before planning your actions. Have a box or pet carrier ready with the floor lined with newspaper or an old towel or blanket
Please do not attempt to rehabilitate a raptor on your own; special permits and knowledge are required. Always contact a wildlife carer.
Step 2:
Protect yourself from sharp beaks and talons (feet).
You should always wear safety glasses and gloves. For small raptors, we recommend wearing wrist length leather gloves; for medium-sized raptors we recommend mid-arm length welder’s gloves. Large raptors require extra protection and we do not recommend handling them unless you are skilled. Raptors have fearsome-looking beaks but they are not as dangerous as their talons which they use to defend themselves when they are frightened.

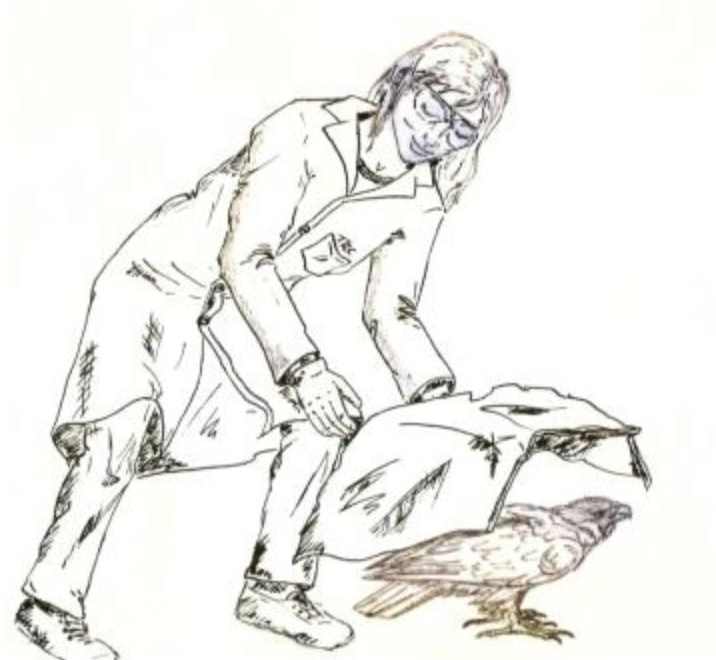
Step 3:
Approach it slowly with a towel or blanket
Depending on the size of the raptor and only if you and the bird are both in a safe location. Make sure the blanket is hiding your face as you approach. You can take “peeks” as you get closer. What direction you approach will depend on your surroundings, as the bird may try to run or fly short distances away from you if it is able. For example, if the bird is facing a road or body of water, try to approach from the front so it will move in the opposite direction. If by moving forward, it will be cornered and easier to capture, approach from the back. A side approach will almost always result in a bird moving forward.
Step 4:
Gently cover the entire bird with the towel or blanket.
Secure its wings and legs to its body, lift it, and gently place it in a prepared transport container. Remove the towel or blanket as you let go. Remember: Even a seriously injured raptor is potentially dangerous. Wild birds do not understand that we are trying to help and will defend themselves. They are quite unpredictable, and you should be especially aware of their sharp beak and talons. Close the box but be sure to leave ventilation gaps somewhere near the top.
It is now time to call for help:
A. Call a wildlife carer or sanctuary
B. Call the Department of Parks & Wildlife; Wildcare Helpline 94749055
C. Take the bird to a vet. Ring one close to you
Step 5:
Transport a raptor is in a plastic dog or cat kennel, or in a sturdy cardboard box with the top closed.
Avoid bird or wire cages, as these can cause feather and soft tissue damage. The carrier should have plenty of ventilation holes and should only be slightly larger than the size of the bird. The less room an injured bird has to move around, the less likely it is to cause more injury to itself.
Step 6:
Provide it with a dark, quiet, calm, warm environment until the bird can be transferred.
Darkness has a calming effect on birds. Extra care should be taken to keep the bird away from children and pets. Do not keep a raptor any longer than is necessary before transferring it to a veterinary professional, raptor rehabilitation, or state/federal wildlife representative.
Step 7:
Do not make any stops during transport.
Like other animals, raptors can overheat quickly in hot vehicles or go into shock if they are injured and exposed to extreme cold. Also, do not play the radio loudly as this will add to their level of stress.